Create AI videos
Start from a prompt, uploaded image, saved reference, product visual, portrait, or character image.
Learn how to use Zorq AI to create, edit, animate, and improve AI videos from prompts, images, audio, and creative ideas. This guide walks you through video generation, video editing, motion control, Kling Motion Control, lip sync, AI influencer content, MultiGen, cinematic video creation, text-to-video tips, and image-to-video tutorials.

Zorq AI is built for creators, marketers, agencies, ecommerce sellers, educators, YouTubers, and AI tool users who want a faster way to turn ideas into usable video content.
Start from a prompt, uploaded image, saved reference, product visual, portrait, or character image.
Improve an existing clip with a clearer prompt, better lighting, smoother movement, or stronger visual direction.
Use Motion Control and Kling Motion Control when character movement, gestures, product motion, or reference movement matters.
Create lip sync videos, AI influencer clips, MultiGen batches, cinematic scenes, text-to-video content, and image-to-video tutorials.
Before you choose a model or upload a file, decide what you want to create. The right workflow saves time and usually gives cleaner results.
Best for product scenes, social clips, short ads, story concepts, brand visuals, YouTube Shorts ideas, and cinematic drafts.
Best for product promo videos, AI influencer clips, avatar motion, animated thumbnails, concept art videos, and lifestyle product scenes.
Best for fixing a video direction, testing another model, improving a clip, preparing campaign content, or changing a visual concept.
Best for character movement, gesture control, product motion, AI influencer movement, dance-style clips, and reference-based animation.
Best for talking avatars, AI spokesperson clips, product explainers, training clips, and short social messages.
Best for ad testing, product campaigns, AI influencer content, social media batches, and creative concept testing.
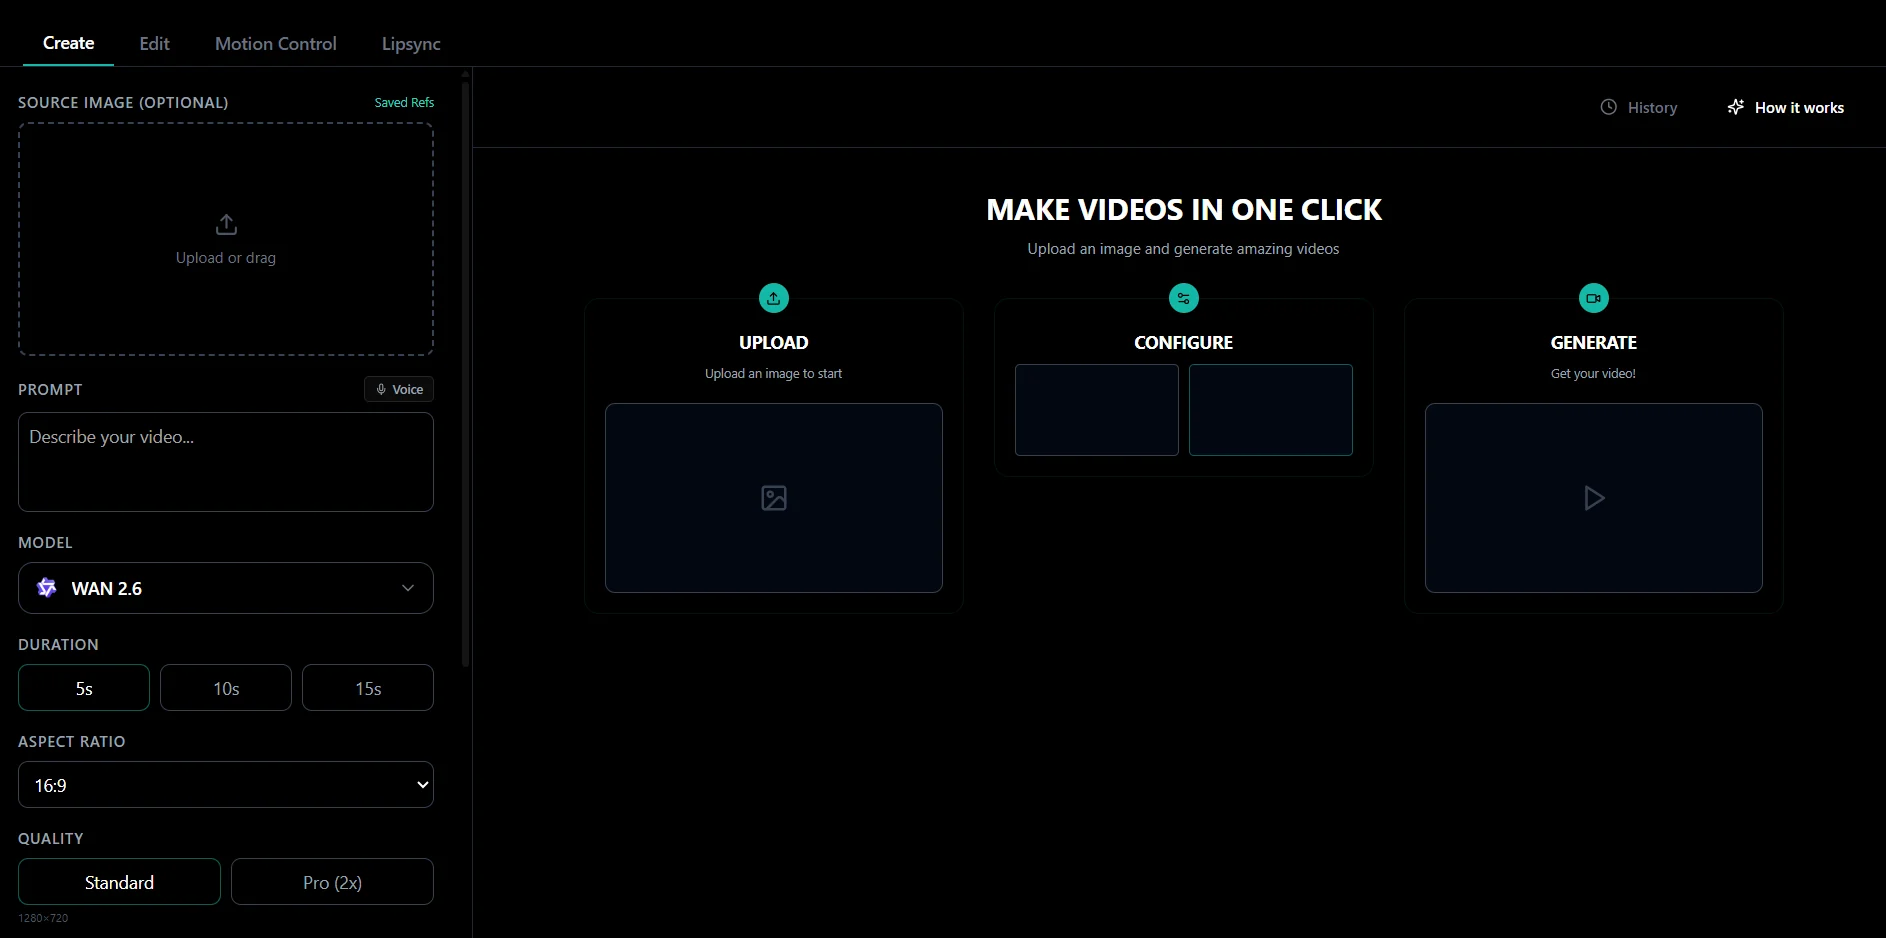
The Create workspace is the main place to start video generation. The workspace includes source image, prompt, model, duration, aspect ratio, quality, negative prompt, audio options, and generation controls.
Start with a text prompt, uploaded image, saved reference, product visual, portrait, or character image. If you are new, use one clear idea.
For image-to-video, use one clear subject, clean lighting, a simple background, sharp details, and good framing.
Tell Zorq AI what the video should do using subject, action, setting, camera movement, lighting, style, and final use.
Use the model selector to pick based on speed, quality, motion style, image-to-video support, text-to-video support, editing support, audio support, and final platform.
Use 5 seconds for first drafts. Use 16:9 for YouTube, 9:16 for Reels and Shorts, 1:1 for square posts, and 4:5 for feed-style vertical content.
Check subject clarity, natural motion, prompt match, camera movement, platform fit, and brand style. Then improve one or two details and generate again.

Use the Edit workspace when you already have a video, generated clip, or visual direction that needs improvement.
Use a clear clip that is short enough to process, focused on one subject or scene, and not overloaded with many cuts.
Use the prompt field to explain the change, such as warmer lighting, cleaner background, smoother motion, or a more premium product look.
Use lower settings for early testing and stronger settings for final visuals when available.
Check whether the edit followed your prompt, subject consistency improved, motion feels natural, and the clip fits your final use.
Text-to-video works best with strong scene direction. Image-to-video works best with a clear source image and a simple motion instruction.
Use this formula: Subject + action + location + camera + lighting + mood + style + platform.
Keep one main action. A product slowly rotating on a clean studio table is stronger than a crowded prompt with too many actions.
Choose a sharp image with a clear subject, good lighting, clean background, strong composition, and enough room around the subject.
Start with subtle movement: slow zoom, gentle camera pan, product reveal, soft background movement, or cinematic light movement.
Motion Control is for videos where movement matters. It helps guide how a subject, character, or object should move.
Decide whether you need walking, turning, dancing, waving, product movement, gesture control, character performance, or action reference.
Use a clear reference video with one main subject, visible movement, stable camera, moderate speed, and no heavy cuts.
Use a clear image of the character, product, or subject that should receive the motion.
Keep the prompt focused on style, scene, background, or lighting. Do not overload movement instructions if the reference video already controls motion.
Check motion accuracy, character consistency, hands, face, body stability, natural speed, and final-use fit.

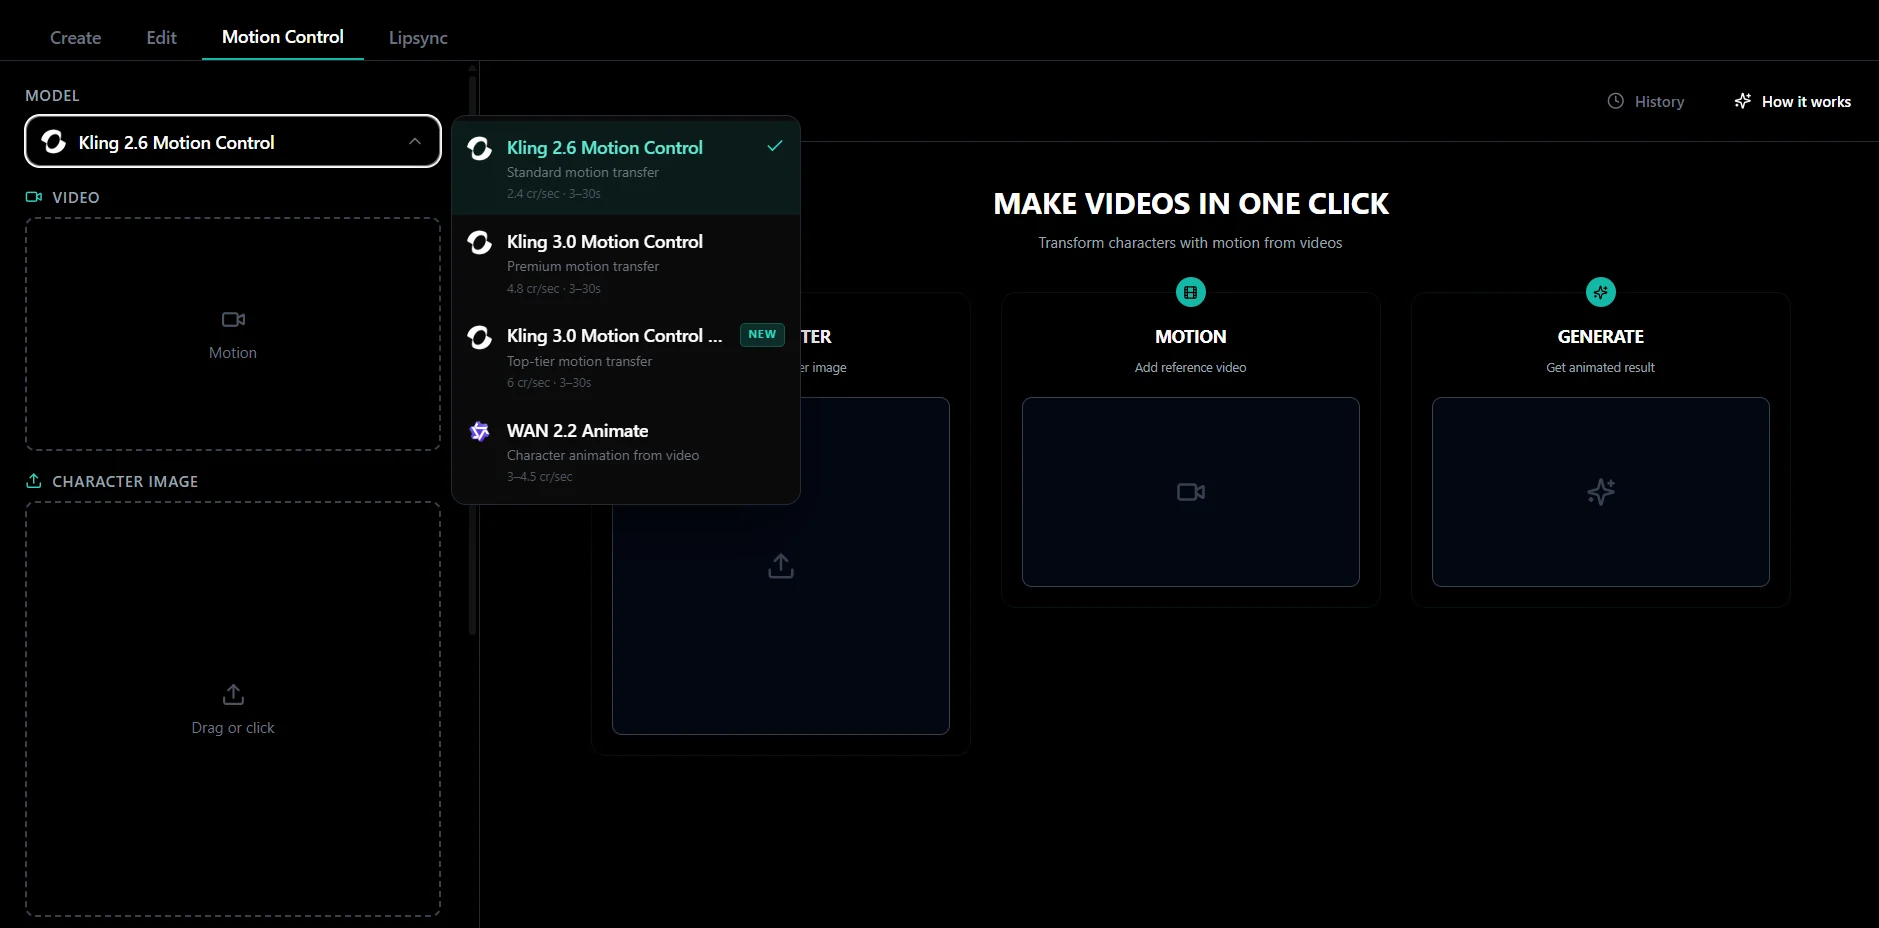
Kling Motion Control is useful when you want model-specific movement control for characters, avatars, or AI influencer clips.
Use a lighter option for simple tests, a stronger option for polished movement, and Pro-style workflows when stability and detail matter more.
Full-body reference works best with a full-body character image. Portrait reference works best with a portrait image. Keep pose and framing similar.
Start with a short duration. If output is unstable, use a clearer source image, simpler reference motion, better framing, shorter duration, cleaner background, or a different Kling motion model.
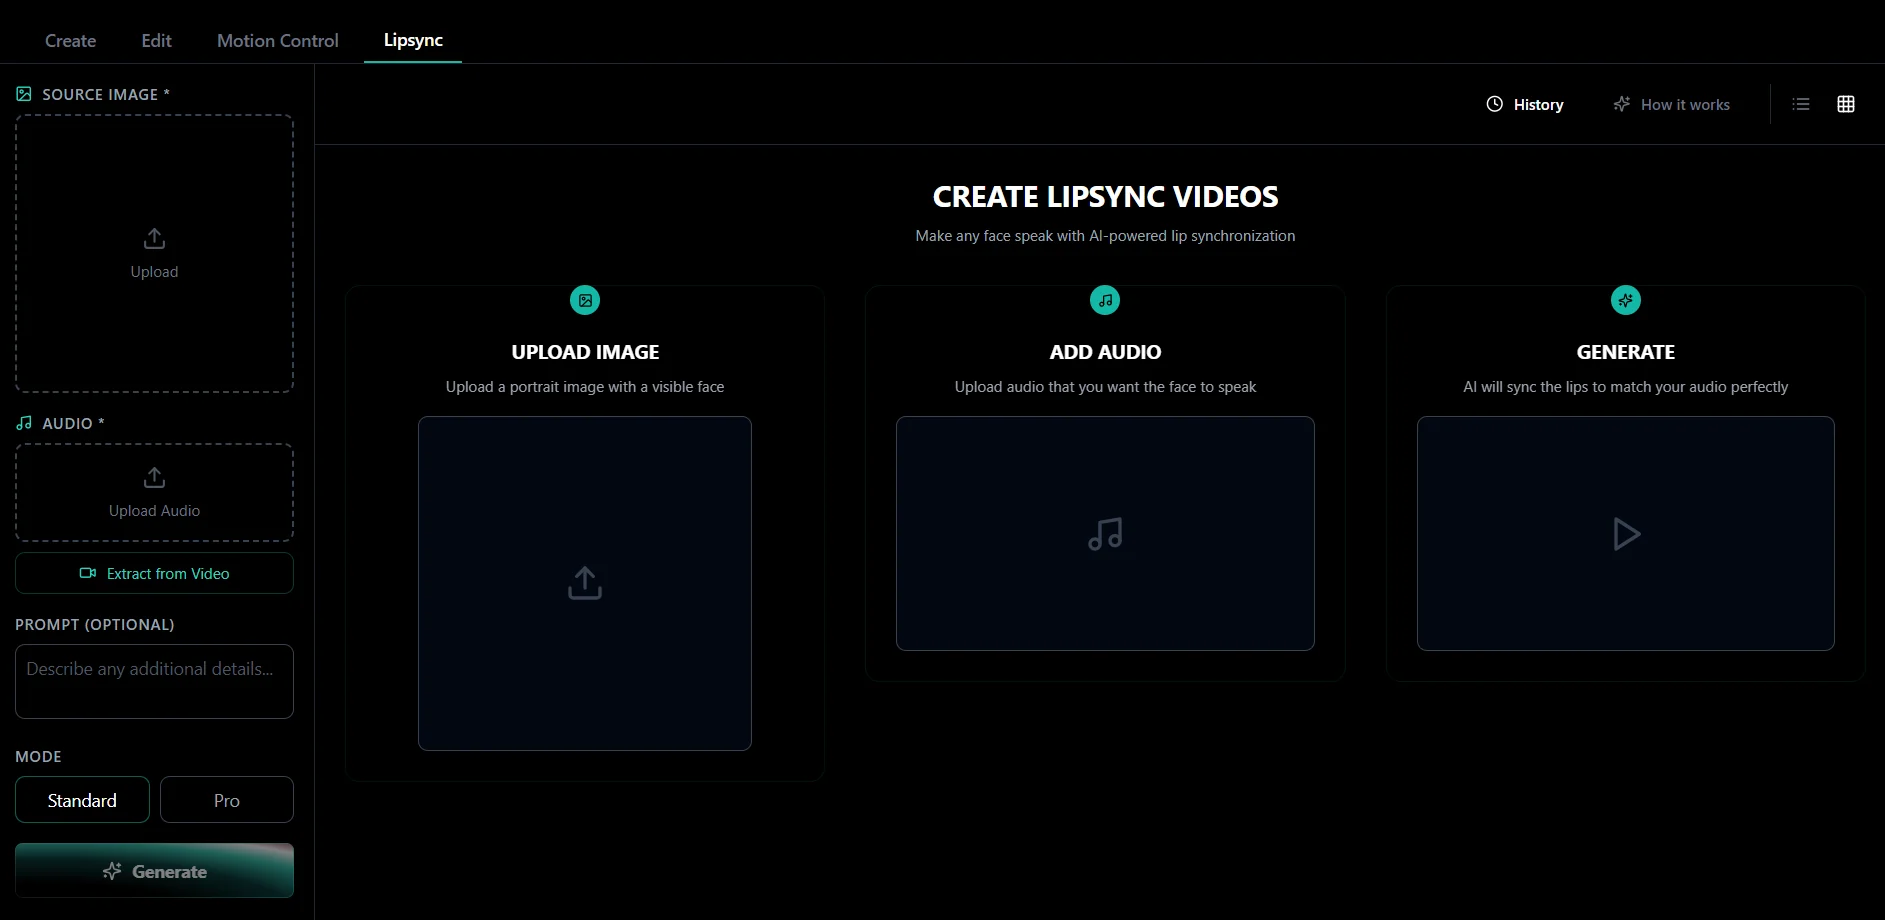
Use the AI Lip Sync Generator when you want a face, avatar, AI persona, or character to speak with audio.
Use a portrait image with a visible face, clear mouth area, good lighting, simple background, and natural face angle.
Use audio that is clear, not too fast, not too quiet, not distorted, and matched to the tone of the visual.
Use the prompt field for small context such as friendly product explanation, natural speaking pace, or clean creator-style video.
Check mouth timing, face stability, audio clarity, expression quality, natural delivery, and platform fit. Only use faces, voices, and likenesses you have permission to use.
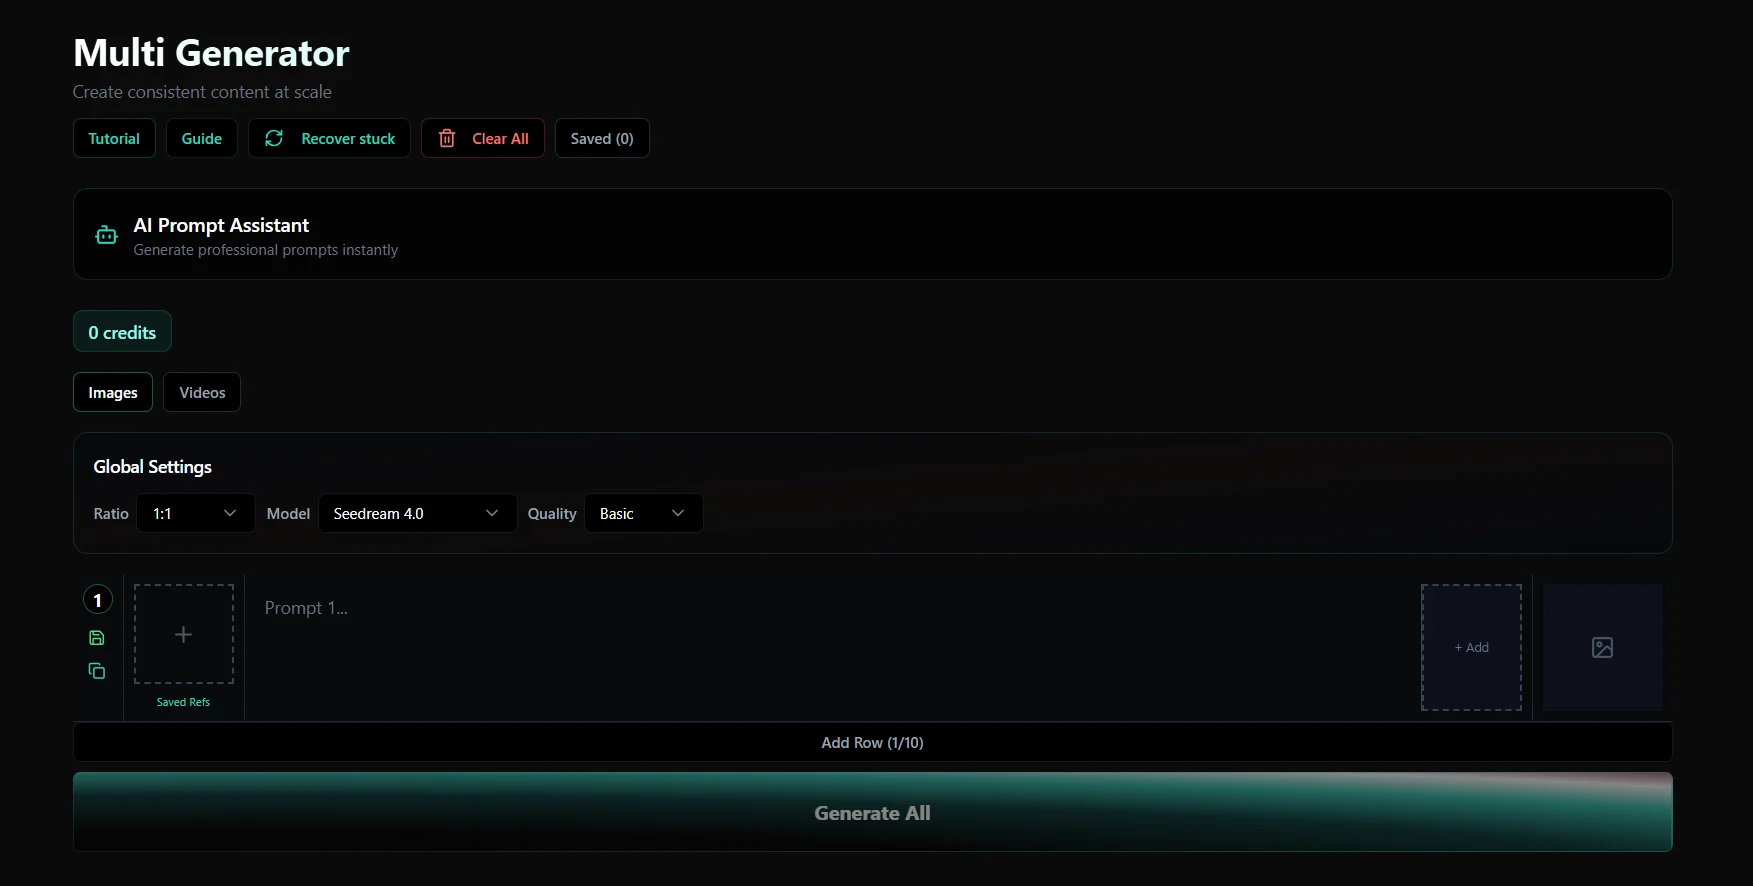
Use these workflows when you need consistency, multiple options, or more polished cinematic direction.
Start with a clear persona direction: niche, face style, fashion style, color palette, content tone, audience, platform, and visual mood. Generate persona images, use MultiGen for variations, animate with Image to Video or Motion Control, then add voice or lip sync if needed.
Choose image or video mode, set global settings, add prompt rows, attach references if needed, generate multiple versions, compare outputs, and move the best result into video, motion, lip sync, or campaign workflows.
Choose one scene, add camera direction, describe lighting, define mood and style, then use Text to Video, Image to Video, or Motion Control depending on your starting point.
| Goal | Best Zorq AI Workflow | Best first action |
|---|---|---|
| Create video from an idea | Text to Video AI | Write one clear scene prompt. |
| Turn image into video | Image to Video AI | Upload a sharp image and describe motion. |
| Edit an existing clip | Video Edit | Upload the clip and describe the modification. |
| Add controlled movement | AI Motion Control | Use a reference motion and clear subject image. |
| Use Kling movement transfer | Kling Motion Control | Pick the Kling model and match reference framing. |
| Make a face speak | AI Lip Sync Generator | Upload a clear face image and clean audio. |
| Create AI influencer content | AI Influencer Generator | Define persona style before generating assets. |
| Generate many concepts | MultiGen AI Generator | Add prompt rows and compare outputs. |
| Make polished scenes | Cinematic Video Creation | Add camera, lighting, mood, and platform direction. |
| Add narration or voice | Voice Cloning AI / Audio Generation | Prepare a short natural script. |
Weak: “Make a cool video.” Better: “A premium smartwatch on a reflective black table, slow cinematic push-in, blue studio lighting, clean tech commercial style.”
Image-to-video and lip sync workflows need clear source images. Blurry, cropped, or messy images often create weaker results.
Do not use text-to-video if you already have a strong product image. Use image-to-video instead.
Too many actions can confuse the result. Keep the video focused.
Different models produce different results. Test more than one model when quality matters.
Always review AI-generated videos before using them in ads, client work, education, or public content.
Before publishing, check that you have rights to images, videos, audio, voices, logos, and references. Make sure the video does not mislead viewers, follows platform rules, is safe for ads or commercial use, respects real people and brands, and has been reviewed carefully.
Use this guide as your starting point. Choose the right workflow, write a clear prompt, upload strong source files, select the best model, generate your first video, and refine the result until it fits your goal.
Create videos · Edit clips · Control motion · Add lip sync · Build AI influencer content · Test ideas faster